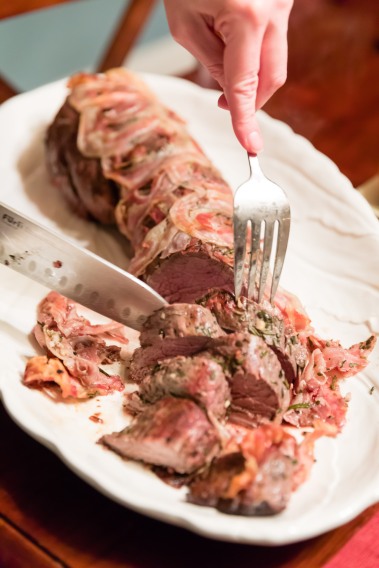
Pancetta-wrapped Beef Tenderloin with Whipped Horseradish Cream
Total: 1 Hour, 25 minutes
Makes 8 servings
Every once in a while, it is nice to have an excuse to make something a bit fancy – elaborate even. And while I like to think that as a family of 3 (well, maybe more like 2 and a half), we eat some nice food, I will rarely break out the really fancy stuff, for fear our toddler will cut dinner short or request mac and cheese instead.
So I welcome Christmas. Not just because it is my favorite time of year, but because it gives me an excuse to host. To make something a little more than your average nightly meal. And, while I tend to make ham on Christmas Day, I thought I would mix it up this year. When I saw this recipe in Southern Living for pancetta-wrapped tenderloin, I knew it had to be good. And, I wasn’t wrong.
It was surprisingly easy, once I got down the “wrapping technique.” And, on a platter it looked very impressive. It also made fantastic leftovers – putting the beef on buns with the horseradish cream as a sandwich.
This will be making a comeback next year – and hopefully before then. Bon appetit!
Ingredients
Preparation
1. Preheat oven to 425°. Sprinkle tenderloin with salt and pepper. Cook tenderloin in 2 Tbsp. hot oil in a large skillet over medium-high heat 5 minutes on each side or until browned. Let cool 5 minutes.
2. Meanwhile, arrange pancetta slices in 2 rows on a large piece of wax paper, overlapping to form a rectangle the same length and width of tenderloin.
3. Sprinkle garlic and rosemary over tenderloin. Place tenderloin on edge of 1 long side of pancetta. Tightly roll up tenderloin with pancetta, using wax paper as a guide. Discard wax paper. Tie tenderloin with kitchen string, securing at 1-inch intervals. Transfer to an aluminum foil-lined baking sheet, and brush with remaining 1 Tbsp. oil.
4. Bake at 425° for 30 minutes or until pancetta is crispy and a meat thermometer inserted into center of tenderloin registers 120° (rare). Let stand 10 minutes. Discard kitchen string before slicing. Serve with Whipped Horseradish Cream.
Note: For medium-rare, cook tenderloin to 135°, or to 150° for medium.
Whipped Horseradish Cream
Ingredients
Preparation
1. Beat whipping cream at medium speed with a heavy-duty electric stand mixer 1 minute or until soft peaks form.
2. Fold in remaining ingredients. Serve immediately, or cover and chill up to 8 hours.
 Although most find me to be a bit crazy to offer hosting Christmas in our house after moving in just 2 weeks prior, but I would not have had it any other way. Not only did I want our nearly 2-year-old to spend Christmas morning in his new home, but I wanted an excuse to cook a big meal. Perhaps the first big meal in our new digs.
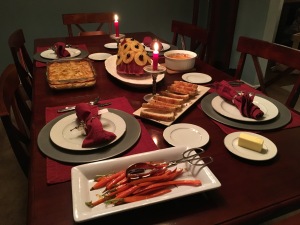 from Italy and I thought they would surely be better. And they were, but at $25 a jar, I am still undecided if they were worth the splurge.